Cindy Harper is a lifestyle blogger who loves to spend her summers lounging in inflatable pools. She has a keen eye for design and enjoys writing reviews on the latest inflatable pool designs for Pool Epic. Cindy's articles are a blend of style and practicality.
Hey there! So you've got a 2-inch hole in your inflatable pool float, huh? No worries, I've got you covered! Repairing a hole in your pool float is easier than you might think. Just follow these simple steps, and you'll be back to floating in no time.
First things first, gather your materials. You'll need a patch kit specifically designed for inflatable pool floats. These kits usually include a patch and adhesive. You can find these kits at most pool supply stores or online. If you can't find a patch kit, don't worry! I'll also share a DIY method with you.
Now, let's get down to business. Here's how you can repair that 2-inch hole in your inflatable pool float:
1. Find the hole: Inflate your pool float and listen for any hissing sounds. If you can't locate the hole by sound, mix some water with dish soap and apply it to the float's surface. Look for bubbles forming, as they will indicate the location of the hole.
2. Clean the area: Once you've found the hole, clean the surrounding area with a mild detergent and water. Make sure it's completely dry before proceeding.
3. Patch it up: If you have a patch kit, follow the instructions provided. Typically, you'll apply adhesive to the patch and press it firmly onto the hole. Allow it to dry for the recommended amount of time before reinflating the float.
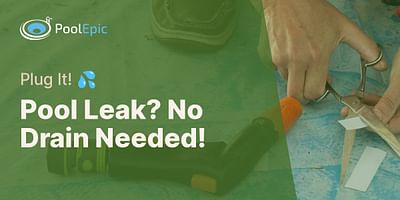
4. DIY method: If you don't have a patch kit, don't worry! You can still fix that hole. Cut a piece of vinyl material slightly larger than the hole. Apply a thin layer of adhesive to the back of the patch and press it onto the hole. Hold it firmly in place for a few minutes to ensure a good bond. Let it dry completely before reinflating.
5. Reinflate and test: Once the adhesive has dried, reinflate your pool float and give it a test run. Sit on it, gently bounce, and make sure there are no more leaks. If you notice any air escaping, repeat the patching process or consider using a different repair method.
Remember, prevention is key! To avoid future holes, be mindful of sharp objects around your pool float and avoid dragging it on rough surfaces. Additionally, regularly inspect your float for any signs of wear and tear.
I hope these tips help you repair that 2-inch hole in your inflatable pool float! If you have any more questions or need further assistance, feel free to reach out. Happy floating!


